Sending surveys manually, one by one or bulk send to a list or csv
Yonder sends unique emails to every customer. This article describes how to send to customers if you don't have an integration for auto-sending. There are three ways of sending manually:
- Specify recipients one by one
- Import a csv file
- Pasting a table of data, it can be comma or tab separated
These are covered in more detail below.
Safeguards to be aware of:
- You can send 'Test surveys' which means any responses will not be shown in your dashboard, not counted against your stats, and not counted against any monthly send limits.
- To avoid sending surveys to customers too frequently, you can set a threshold of time since the last survey sent to them. Adjust this in survey Send Settings, eg. don't send to Joe Bloggs if we've already sent a survey to Joe Bloggs within the last 3 months. By default it's off, although there is a check done to avoid sending if a survey was sent to the same email within the last 5 minutes. This limit does not apply to test surveys.
How to send
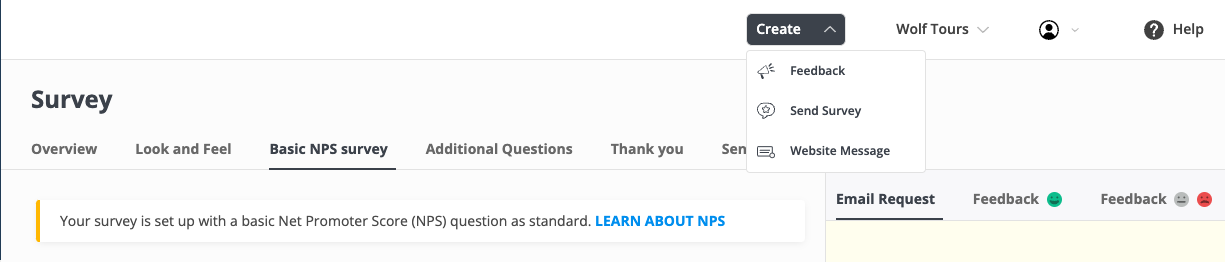
In the menu bar click "Create" and "Send survey", or go to this link.
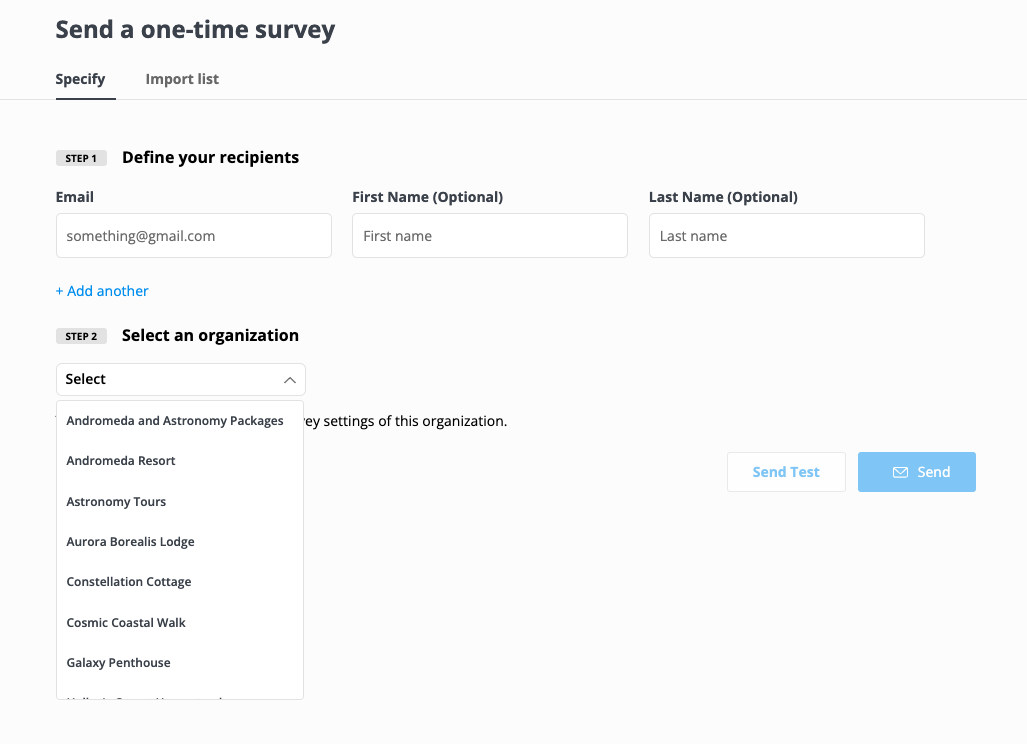
Sending with Specify recipients
.gif)
Email is a required field.
First name and Last name are optional, but they're recommended to help you identify who a response comes from and to personalise the email. You can use personalisation fields [Firstname] and [Lastname] within the survey text, which will use the respective name. If they're blank then the fields are also blank, there's no default text.
Add multiple people by selecting "Add Another"
When you're ready to send, hit Send or Send Test.
Sending with Import List

Drag and drop a csv file. Or, paste a list into the lower input box, which may be comma or tab separated (often when copying from an excel file the data is pasted as tab separated).
On the next page you're asked to map the first row of your file to email, first name and last name. An example from the first row of your data set are shown.
If this first row of your data set or file are the names of the columns (known as header) then ensure the toggle "My data has headers" is ON. This means that row will be skipped when sending to customers. If the first row is an actual customer, then ensure the toggle is set OFF.
Hit Next
Review your data. The status indicator on the left column shows if there is a valid email, if there are rows with blank or invalid emails, you can click send and those rows will simply be ignored.
Click Send.
Sending when you have Organizations enabled
Enabling Organizations means the look and feel of your survey is customised to each organisation (Business name, logo and review site links). When sending manually (with both Specify and Import list methods) you'll be asked to specify which organization you're sending for. That means each send can only be for one organization at a time.