How to connect Timely to Yonder using Zapier
Integration to Timely is only possible via Zapier. Zapier is an online service that helps connect Timely appointments with Yonder, and many other systems. They have a free plan, with paid plans for high volumes of appointments. It's super simple to connect, a one-time thing. See below for steps...
How it works?
Zapier informs Yonder any time there is a new appointment, or a change to an appointment. That means Yonder won't know about any appointments that have already been created before you connect Timely with Zapier.
You can find out more on the Timely Help page, link here.
Steps to setup the integration
Create a Zapier account
Go to https://zapier.com to setup an account. They have a free plan which will suit most users.
Make sure the timezone in Zapier is correct, to ensure timestamps come through to Yonder accurately. Go to "Profile" and down the bottom is your timezone setting.
Add your Timely to your Zapier account
Timely have created a guide how to connect Timely with Zapier, link here.
Basically....
- Follow this link https://zapier.com/apps/timely/integrations to add Timely to your Zapier account.
- You'll be asked to input a unique API Key, from Timely. This can be found by visiting Settings > Add-Ons and then click 'Activate' to see your unique Zapier API Key.
Add your Yonder to your Zapier account
First, let's get youR API key that you'll need to enter into Zapier....
Go to Settings > Booking System and then click on "Timely (via Zapier".
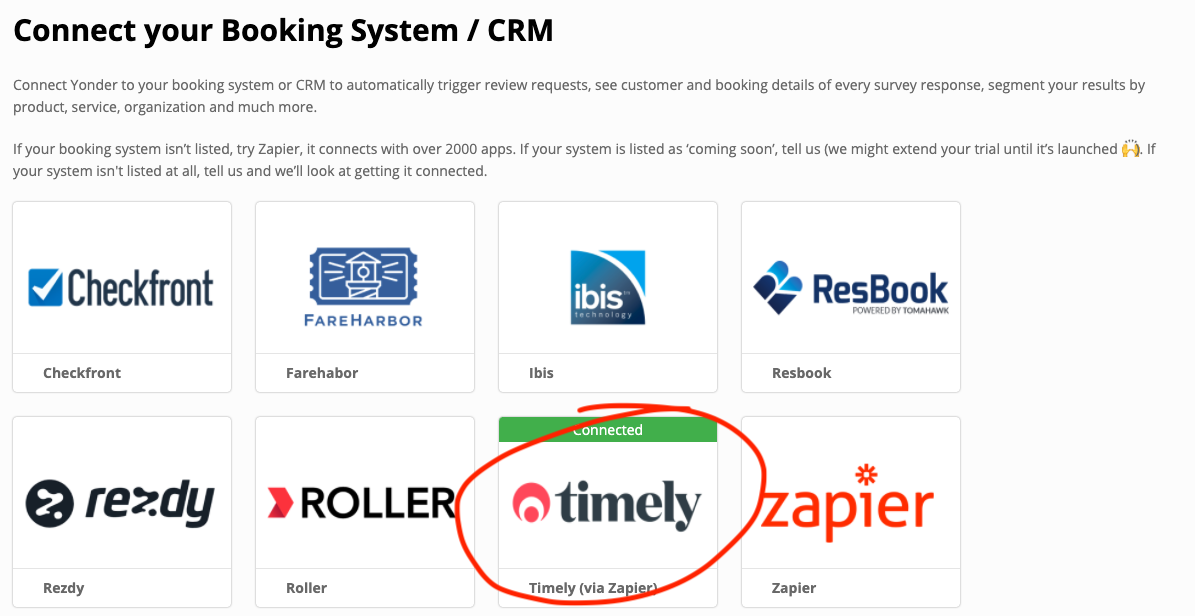
You'll then see your unique Zapier API key.

Go to My Apps again to add Yonder to your Zapier account.
Click on "Add Connection", search for Yonder and click on Yonder.
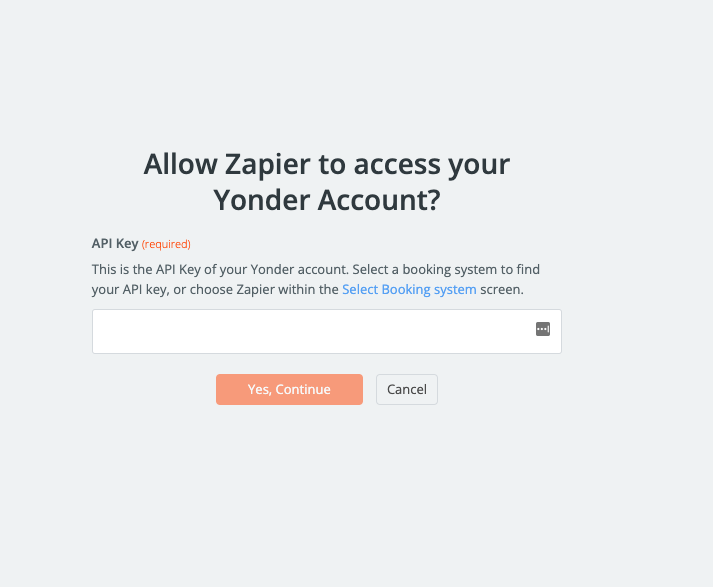
A pop-up will appear and you'll be asked to enter your Yonder API Key. To find this, go back to Yonder, go to Settings -> Booking System and then click on "Zapier". You'll then see your unique Zapier API key.
Enter it into Zapier, click "Yes Continue" and you'll be connected.
Now you've got both the sending the receiving accounts conneted in Zapier, let's connect them with a Zap !
Create a Zap
Click on "Make a Zap"
Create a trigger
Search for "Timely"
Click on "Choose an event" and select "Customer Trigger"

Click on Continue
Select your Timely account, which completes this step.
Create an action
Search for "Yonder"
Then map the various data fields from Timely to Yonder. The mapping should look like this....
- Start Time = Next Appointment Date
- End Time = Leave blank
- Status = Leave blank
- ID = Leave blank
- Customer First Name = First Name
- Customer Last Name = Last Name
- Customer Email = Email
- Customer Mobile = Mobile Number or SMS number, depending on what you use
- Product Name = Leave blank
- Product ID = Leave blank
- Total Number of People = Leave blank
Switch on
Give your Zap a name
Within Zapier, turn on the 'zap'.

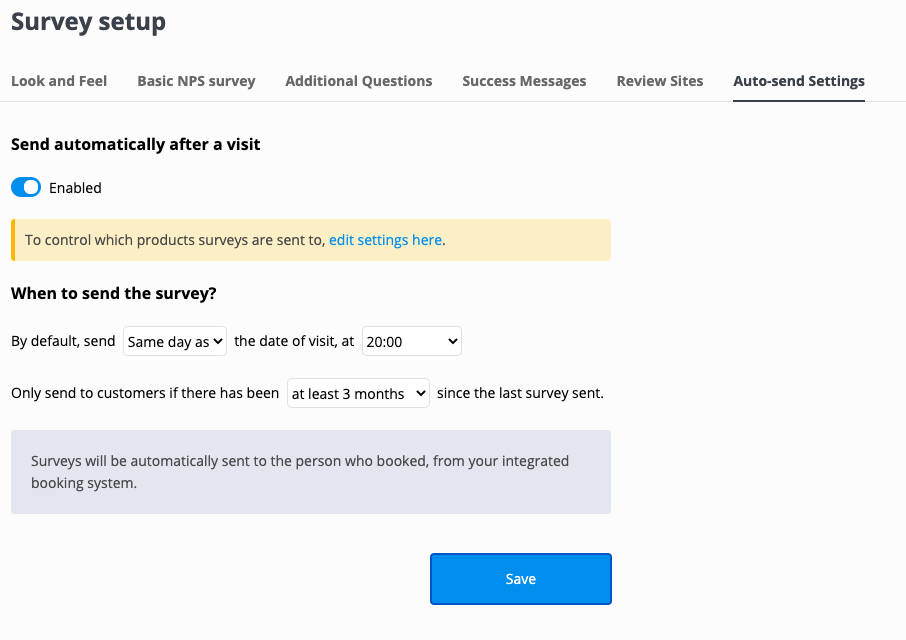
Within Yonder make sure your 'auto-send' surveys is set to ENABLED and you'll start automatically collecting reviews 👍. You may like to set the limit of reviews sent to clients to every 3 months or 6 months, instead of every time there is an appointment, to be considerate about sending review requests.