
How to integrate with CustomLinc
Step 1 - API Key
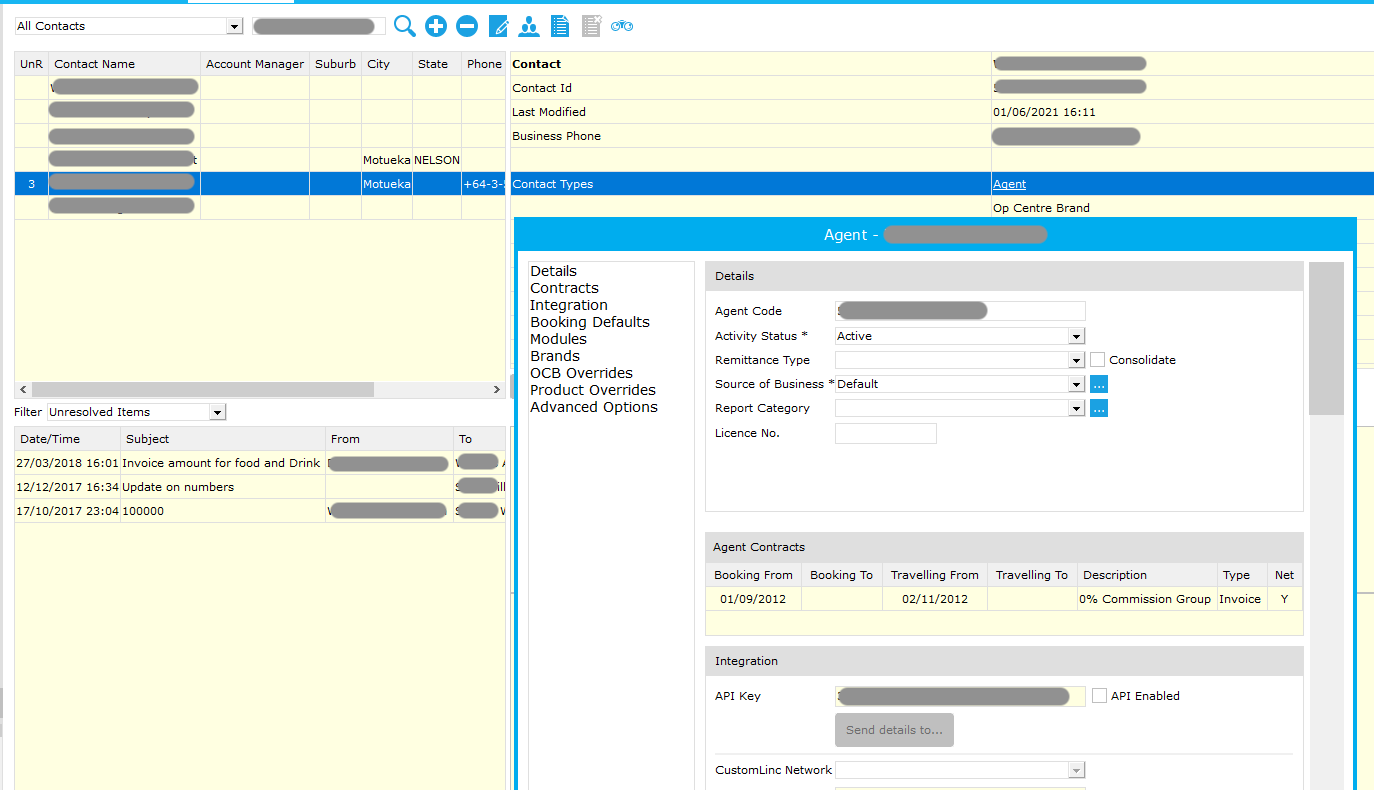
Integrating with Custom Linc works by finding the API key relating to the Contact/Agent used for direct bookings. This is probably a contact with the same name as your business.
Once you've found the contact, open.
You'll find a section called "Integration" and within that it shows an API Key. This is what you'll copy and enter into Yonder.
You'll need to tick the API Enabled tick box also and apply that change in order for Yonder to access all the information.
Step 2 - Supplier Name
We also need your supplier name, this is the name used for your customLinc server. It's likely your business name with no spaces between words. Ask Custom Linc if required.
Step 3 - Enter into Yonder and Activate
Once you have this API, go to Settings / Bookings System, Select Custom Linc, enter the API key.
Enter the Supplier name.
Click "Activate".
Step 4 - Add category 'Yonder' to relevant products
Custom Linc require us to specify a 'category' on products and they only give us booking information for that category. We've setup our system to request bookings for category 'Yonder'. Our other Custom Linc customers applied a category called Yonder to the products they wanted us access to bookings for (some applied to all, others only applied to some products).
----
If there are any difficulties, you're welcome to share the API details with us and we'll help you set-up. To do this, in the integration area for the relevant contact clik "Send details to ..." and send to support@yonderhq.com. That email will have most details we require to set-up.
Let Yonder know you've done this as we'll keep an eye on booking coming through. There have been situations CustomLinc needed to change some internal settings to allow booking data to come through to Yonder.